Try it in your browser
This is the fastest way to hear whether your agent sounds right — no phone number, no cost, just your computer’s microphone and speakers. If you just finished the agent creation wizard, a test call is ready on the last step — click Start test call. To test an existing agent later, find its card on the dashboard’s home screen and click Test on Browser.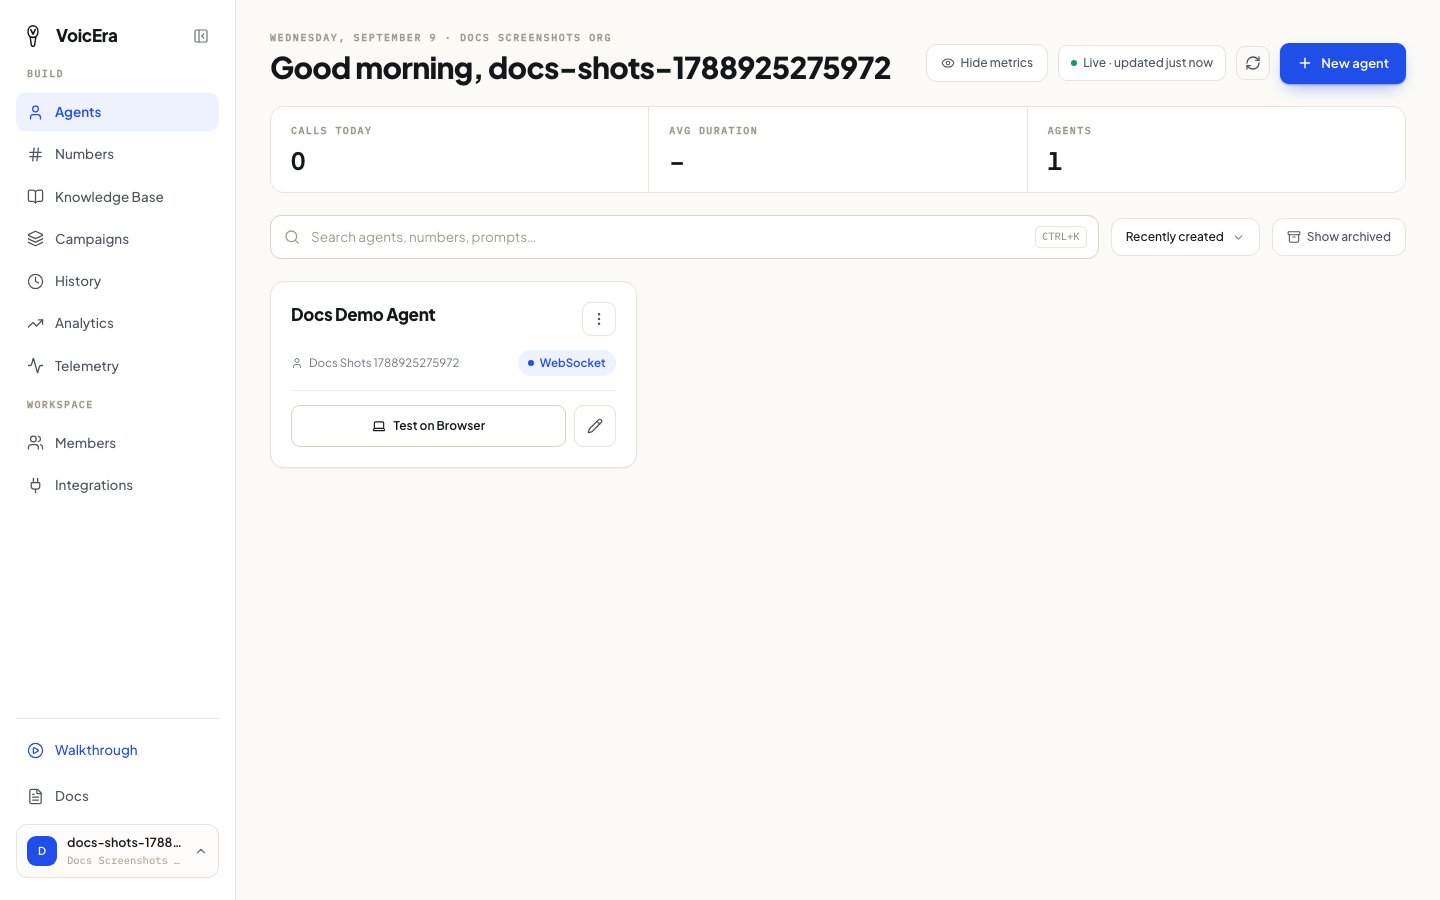
Only agents set up for WebSocket delivery (see the Delivery step of the wizard) can be tested this way. An agent set up with a phone number instead will offer to place a real outbound call.
Add a phone number
Once you’re happy with how the agent sounds, give it a real phone number so real callers can reach it.- Click Numbers in the sidebar.
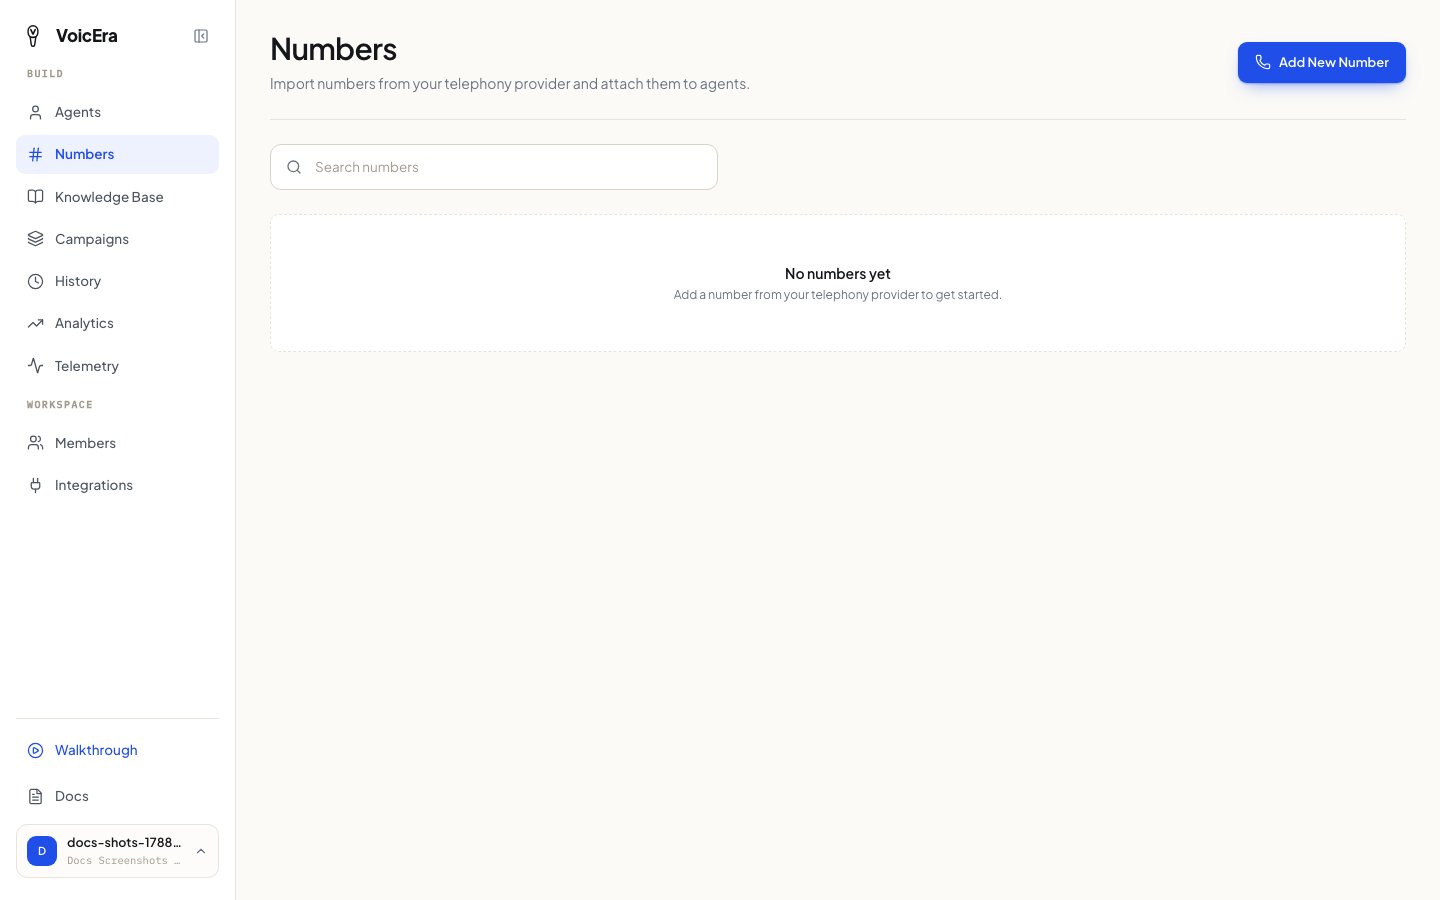
- Click Add New Number and pick which telephony provider account to import from.
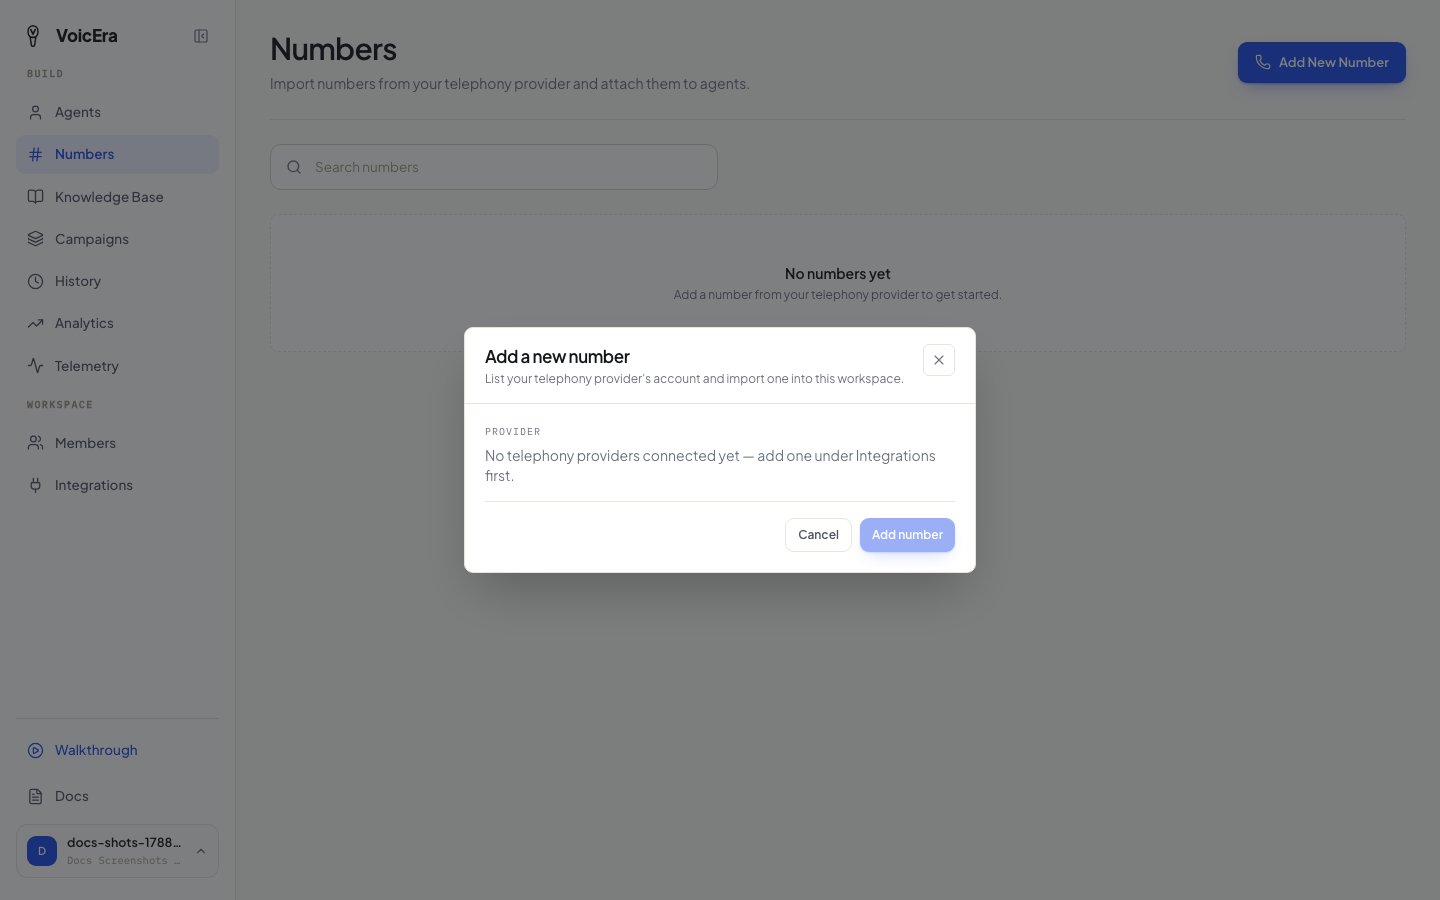
- Pick a number, and choose which agent it should connect to.
You need a telephony provider (like Plivo) connected under Integrations before a provider shows up here.
Placing a real outbound call
For an agent connected to a phone number, its card offers a way to place an outbound call directly — type in the number to dial and the agent calls it.If something isn’t working
For deeper audio or call-connection problems, see Voice and audio problems.